Knowledge Base
Working with Point Cloud Data
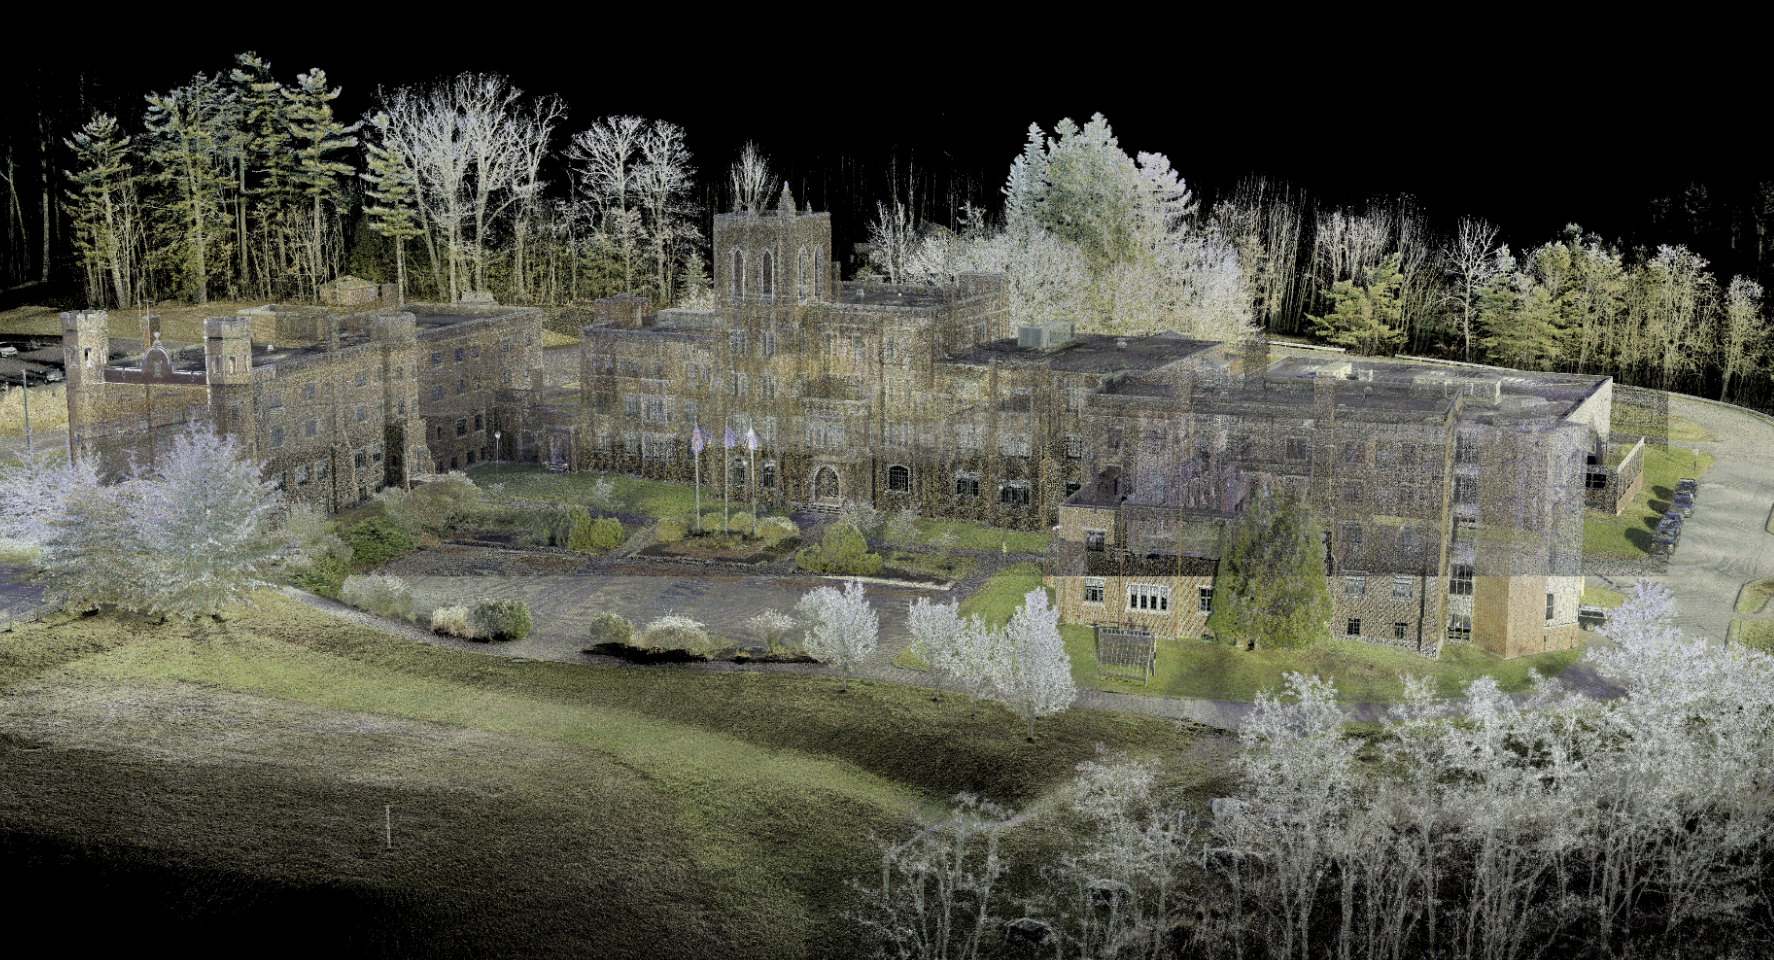
The 3D point clouds that we used to create the 3D Revit models are linked within the Revit file. These 3D point clouds can be used natively inside of Revit without any third-party software and respond to all of your view and cut plane commands. This allows you to see the actual real-world conditions during the time of scanning.
Point Cloud Recommendations
Point cloud data (.rcs files) have large file sizes and can be cumbersome to use in Revit if not set up properly. We have put together the following recommendations for our clients to assist in managing point cloud data on their network and local machines.
Alternatively, Existing Conditions' Virtual Site Visits platform is an easy and low-cost way to access spatial data of your building or project, regardless of your operating system or hardware. You can use the platform on any desktop, tablet, or mobile device – all you need is an internet connection.
General Point Cloud Management Notes
- Store point cloud data (.rcs files) on a server for your records.
- Copy the point clouds (.rcs files) to the local machine when accessing them frequently within Revit. Failure to do so will greatly impact your network performance and will slow down the view regeneration in Revit.
- 16 GB of RAM is the minimum recommendation for working with point cloud data. 32 GB of RAM is preferred.
- Storing the Point Cloud data on an SSD drive increases the speed of accessing point cloud data within Revit. If users are experiencing a slow checkerboard-like loading of scan data, look into installing SSD drives on the machines.
How to Reload Point Clouds in Revit
- Go to the Insert or Manage tab and choose "Manage Links".
- Select the "Point Cloud" tab.
- Select a point cloud in the list and choose "Reload From" on the lower left and select .rcs files in the file type dropdown.
- Be sure to reload the point cloud with the exact same name, or the point cloud position in Revit could be affected.
How to Setup a Network Environment
- Create a local folder on each workstation that will contain a local copy of the point clouds (.rcs files) (i.e. C:\Point Clouds\Project Name\*.rcs).
- In Revit, go to the "R" or File menu in the upper left and choose "Options" in the lower right.
- Go to the "File Locations" on the left.
- Change the "Root path for point clouds:" to the same folder that the point cloud data is located (i.e. C:\Point Clouds\).
When 3D Point Clouds are loaded into Revit it will use this relative path to locate the .rcs files. This way, individual workstations can have the "Point Clouds" folder on different drives or locations on their hard drive and everyone will still have the same relative paths in Revit.
Other Recommendations
- Make sure you have ample room (at least 30%) on the hard drive that you have the Revit file and 3D Point Cloud saved on.
- When working with 3D Point Clouds inside of Revit, make sure you keep your cut plane and view depths to small increments. These point clouds are “see-through” and it can be hard to distinguish objects when they’re visually on top of each other.
- We pin the 3D Point Clouds inside of Revit. If you’re having trouble selecting the point cloud, make sure you have “Select Pinned Elements” unchecked in the bottom right corner.
- When working inside of Revit, the scan data can be pixelated. Be sure to reference the .LGS file in TruView/JetStream Viewer for visualizing the scan data. This will help you understand what the 3D Point Cloud data is representing.
Existing Conditions 3D Laser Scanning Services
Over the past 27 years, we have measured, documented, and modeled over 10,000 buildings spanning over 700 million square feet across the United States, establishing ourselves as an industry leader in 3D laser scanning. Architects, builders, engineers, developers, facility managers, trust us to deliver digital representations of the as-built environment with unparalleled accuracy and efficiency. Our dedicated Project Managers provide fast and accurate 3D laser scanning services and drone imagery services, and expert CAD and BIM technicians create custom, detailed deliverables. Our greatest reward remains delivering superior-quality scan-to-BIM work and knowing we played a vital role in our clients’ unique and historic projects.
Related Articles